Richtig angewandtes Wissen für außergewöhnliche Resultate
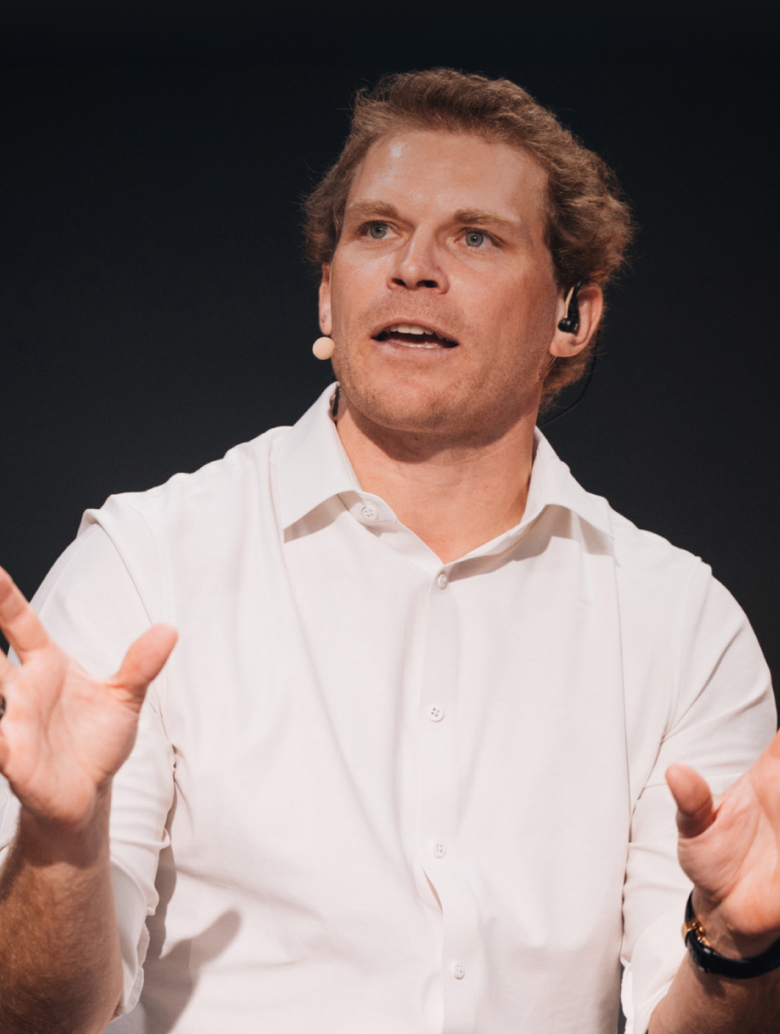
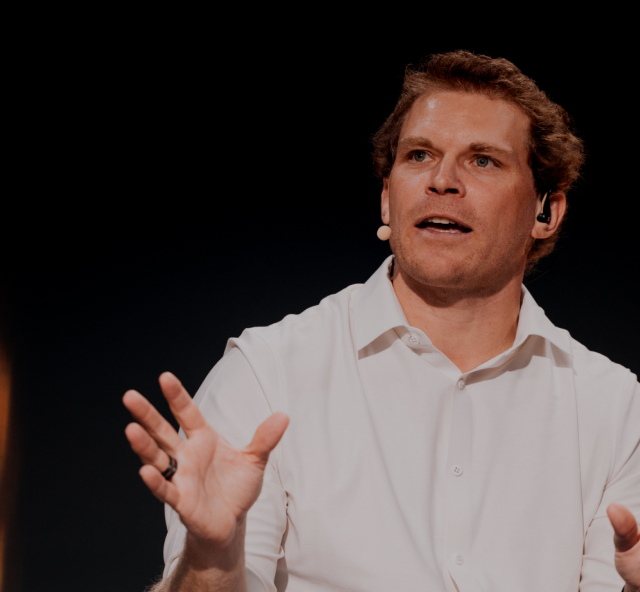
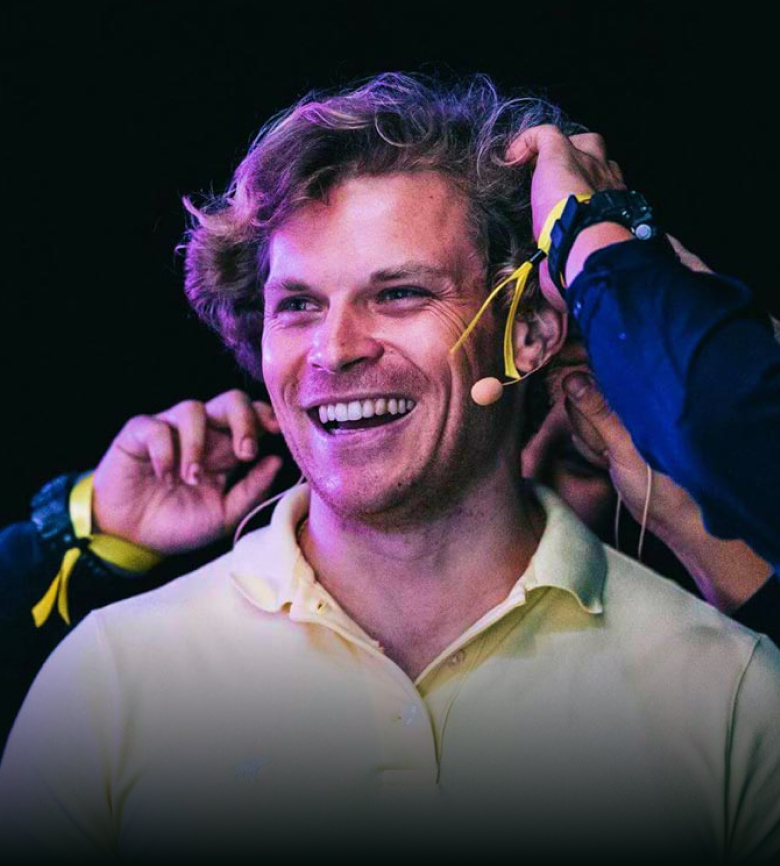
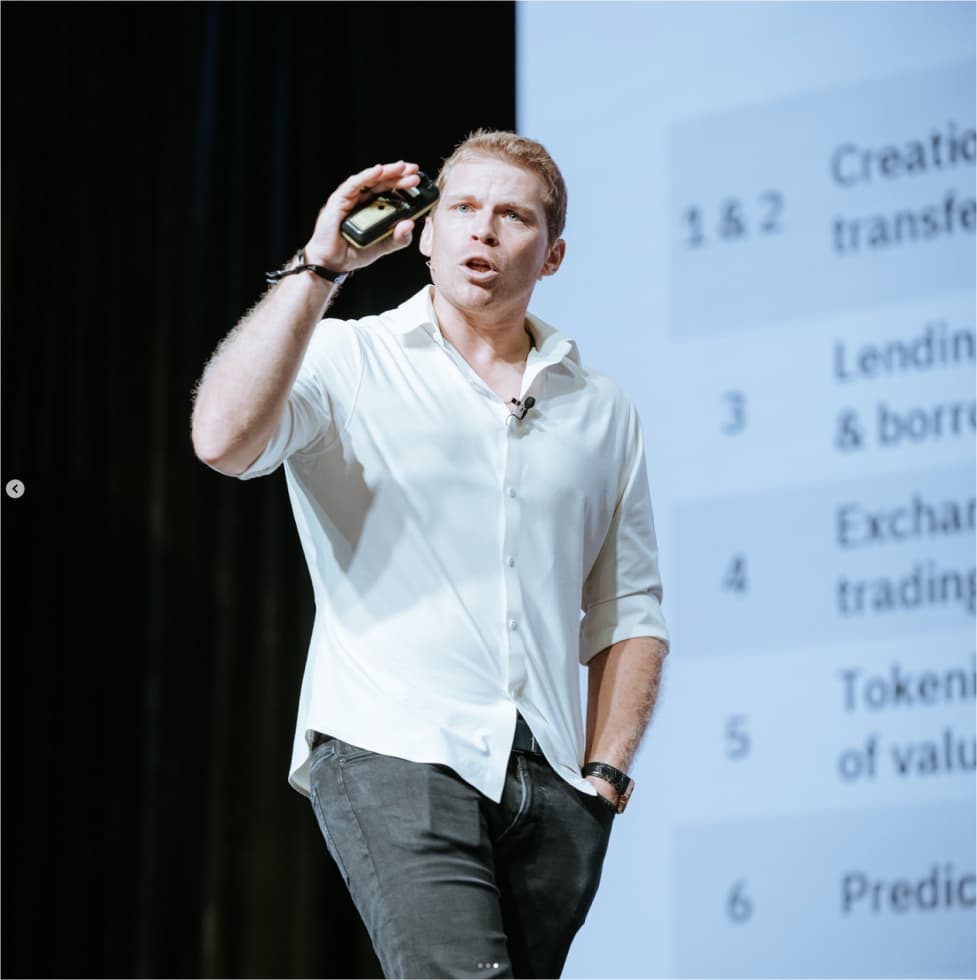
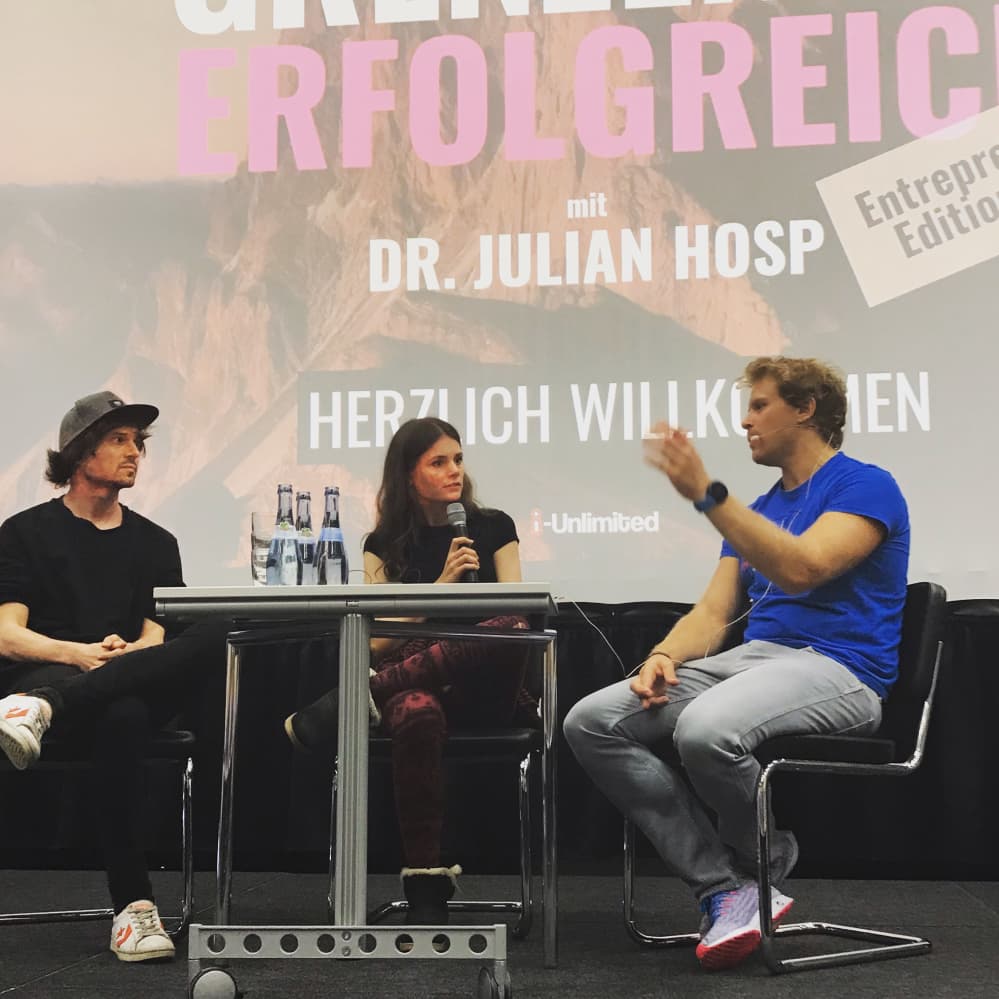
Hey, ich bin Dr. Julian Hosp. Meine Vision: 1 Million Menschen im DACH-Raum dabei zu unterstützen, Mehrwert und Nutzen zu erschaffen.
Mein Weg zu Erfolg und Erfüllung
Ein glückliches, erfolgreiches Leben entsteht nicht durch Zufall. Hinter jedem erfolgreichen Unternehmen, jeder klugen Investition und jeder glücklichen Familie steckt harte Arbeit und eine kluge Strategie. Dabei ist meine Familie sowohl mein Anker als auch mein Antrieb, der mir Kraft und Richtung gibt.
 Investor
 Doktor der Medizin
 Top-10-Kitesurfer weltweit
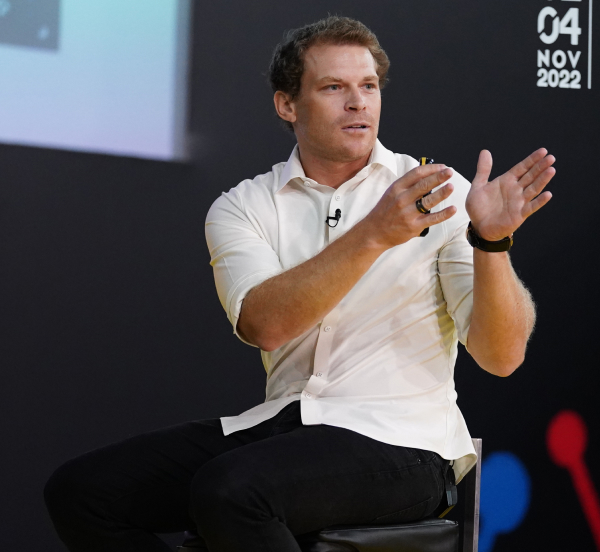 Unternehmer
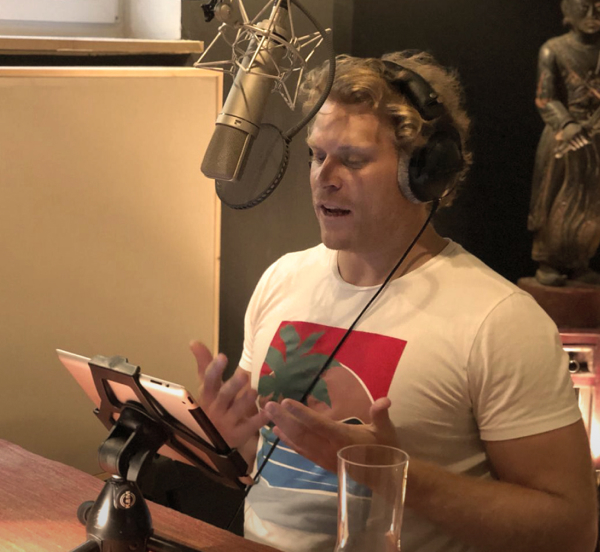 Content Creator
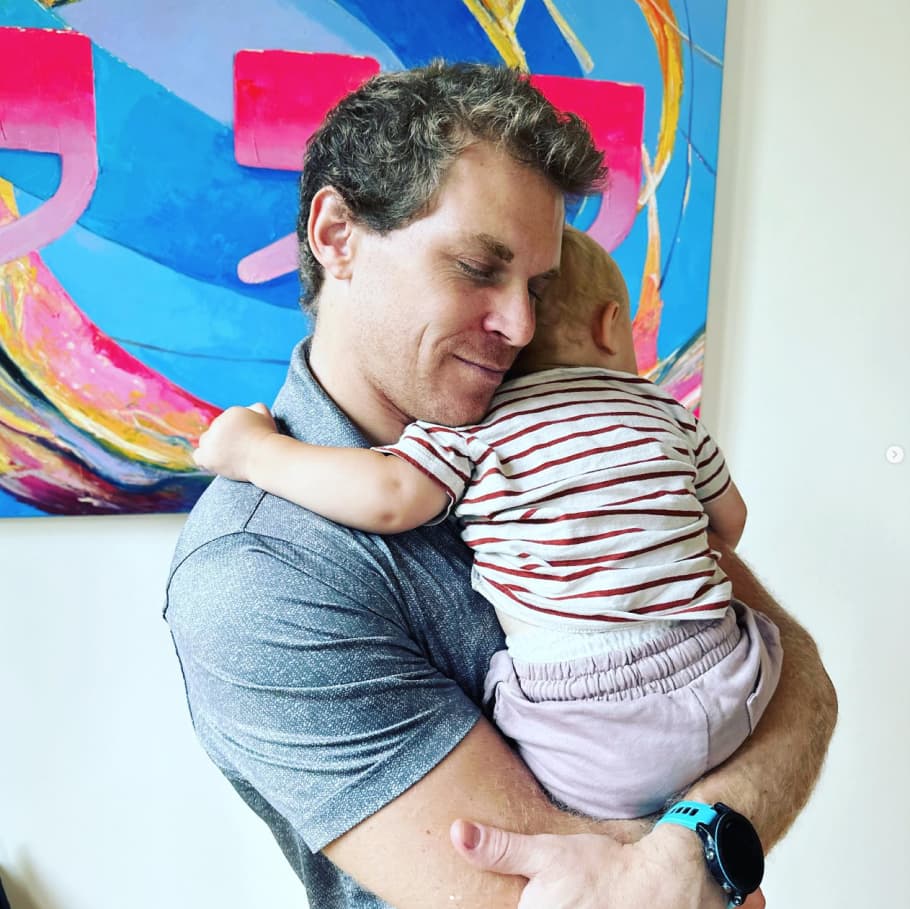
 Familienvater
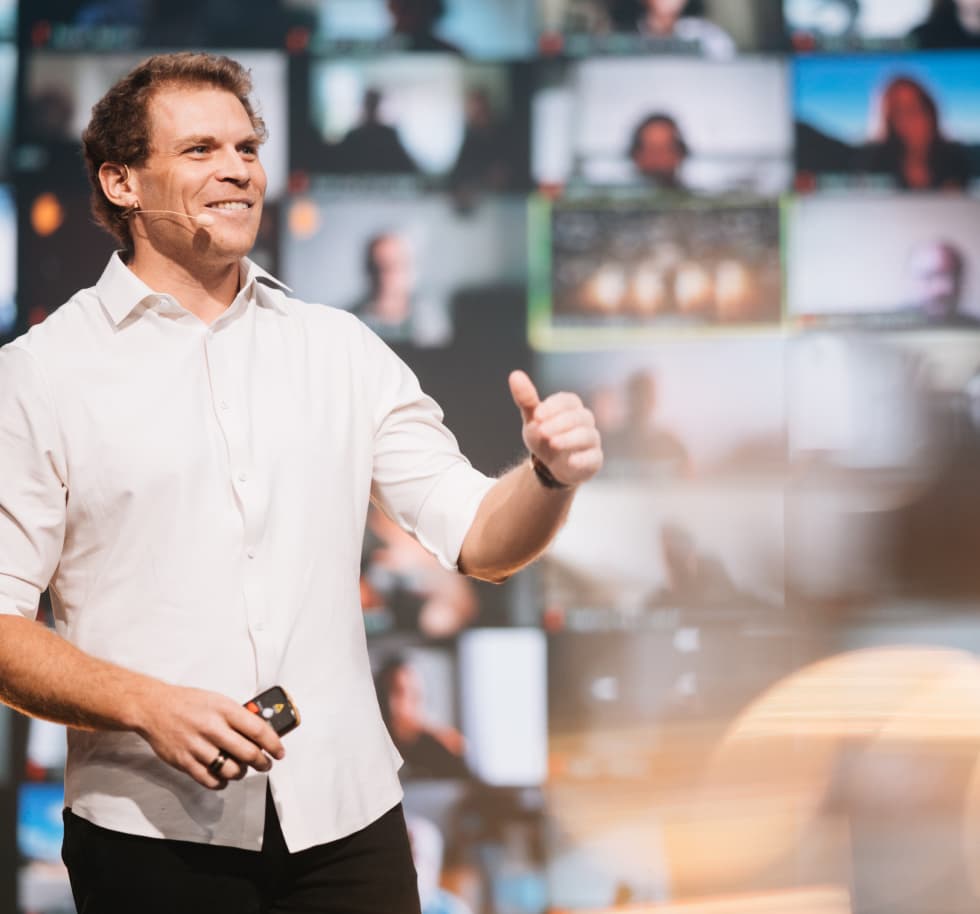
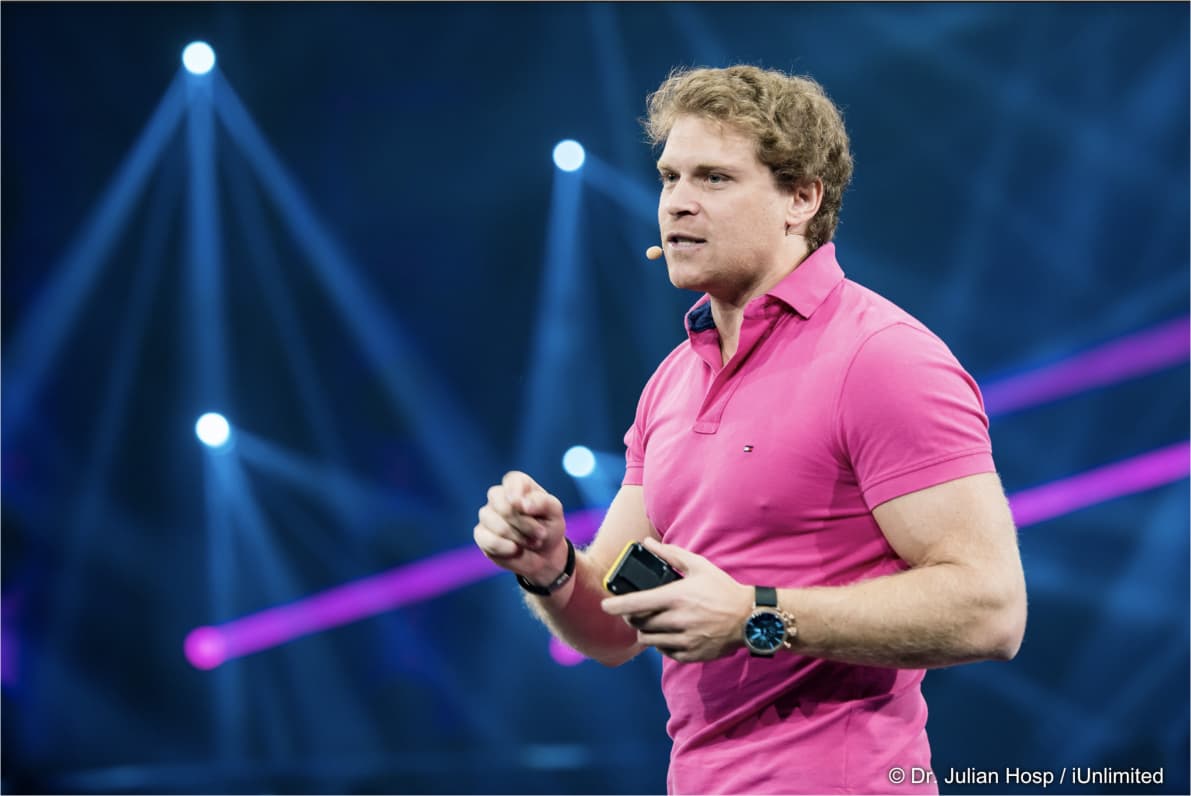
 Speaker
Ideen, die das Leben von Millionen prägen
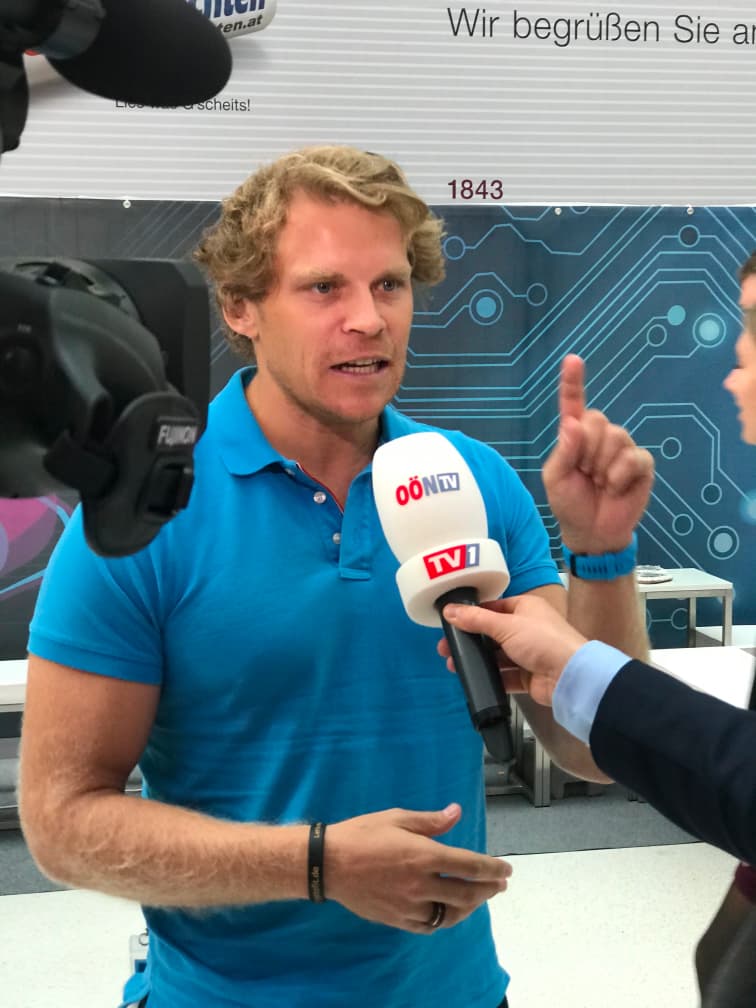
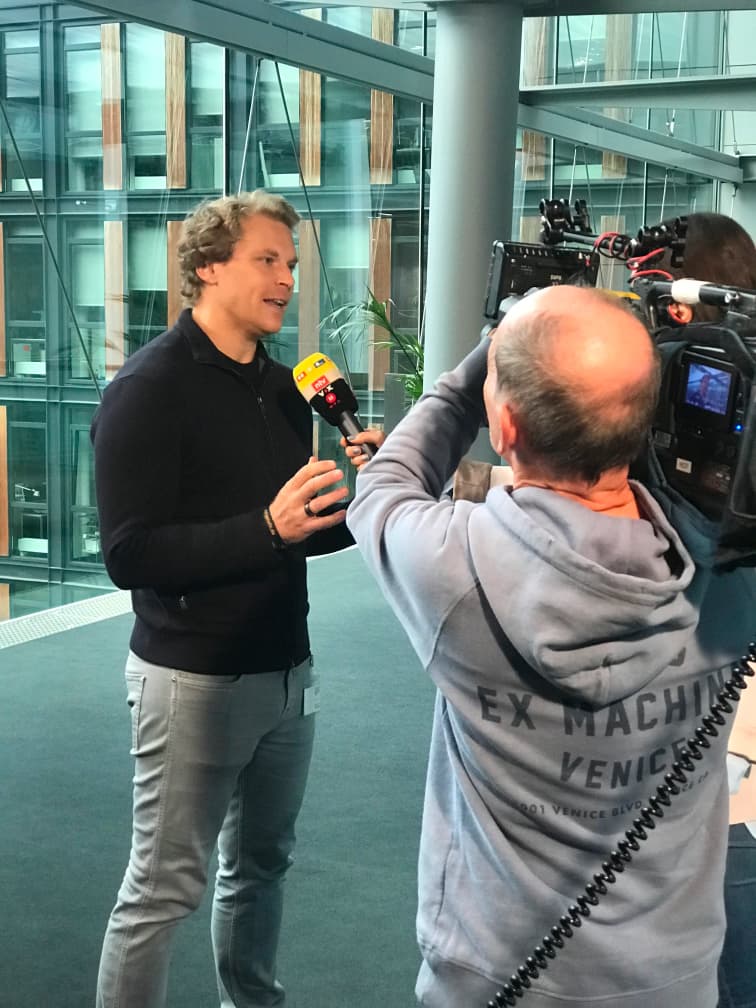
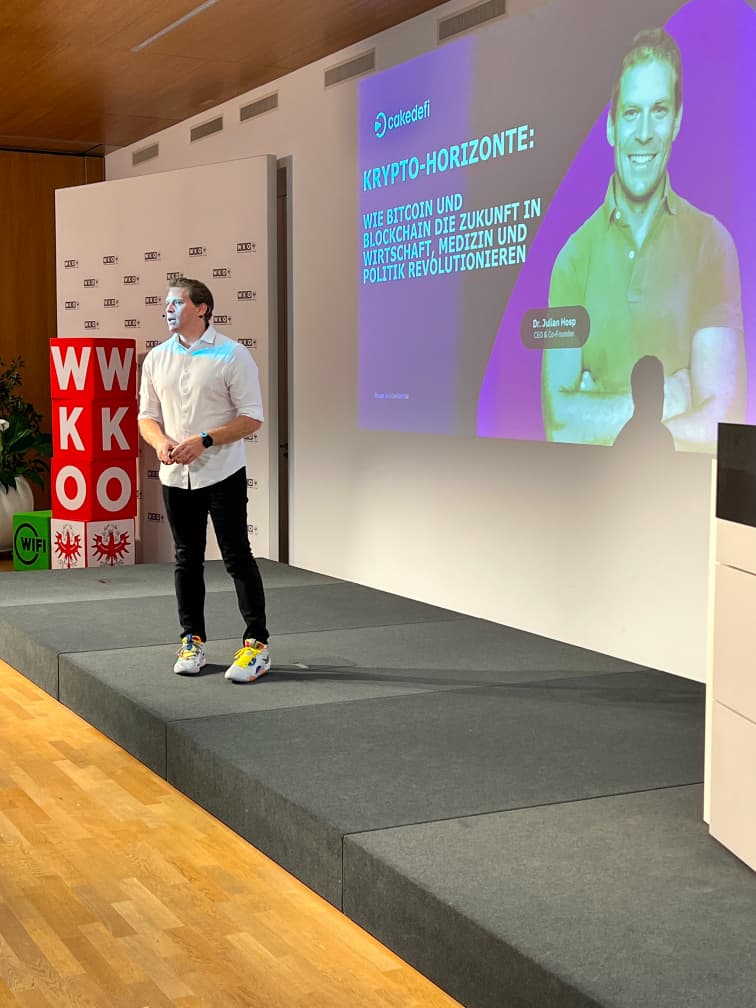
Ich bin Gründer der Cake Group, leidenschaftlicher Krypto‑Pionier, Investor, Doktor der Medizin und vor allem eins: stolzer Familienvater. Mich begeistert es, wenn richtig angewandtes Wissen dazu führt, dass Menschen in ihrem Leben erfolgreicher werden. Im Finanziellen, wie im Persönlichen. Vor allem durch meine Bestseller und meine Reichweite auf YouTube und Social Media inspiriere ich meine stetig wachsende Community.
Ich träume von einer Gemeinschaft, die aufblüht durch herausragende Investoren, erfolgreiche Unternehmen und tiefgreifende Beziehungen - deshalb teile ich so viel Wissen, wie irgendwie möglich.
Neues aus meiner Welt
Mich begeistert, dass jeder mit richtig angewandtem Wissen sein Leben nachhaltig optimieren kann. Und deshalb teile ich meine Inhalte hier regelmäßig und kostenfrei. Nutze diese Chance und bleibe auf dem Laufenden, um Deine persönliche und finanzielle Entwicklung zu starten.
Der beste ChatGPT Kurs
Du nutzt ChatGPT, aber die Ergebnisse sind mittelmäßig? Das Problem: Du stellst die falschen Fragen. Während andere stundenlang schlechte Texte schreiben, erstellen ChatGPT-Profis in 5 Minuten bessere Inhalte als du in 2 Stunden. Der Unterschied? Sie kennen die richtigen Prompts. Ich zeige dir in meinem kostenlosen 30-Tage-Audio Kurs, wie du ChatGPT wirklich nutzt: - Täglich 2-3 Stunden sparen - 400% produktiver werden - Neue Einnahmequellen erschließen Komplett kostenlos!!!
100 Euro pro Tag mit KI und Produkt-Reviews. Jetzt ist mein neues Produkt live!
Kein Witz. Kein Hype. Einfach echtes Ergebnis. Monatelang habe ich an einer Frage gearbeitet: Wie kann jeder, egal, ob Investor, Gründer oder Side-Hustler mit KI direkt Geld verdienen? Ohne komplizierte Technik. Ohne Startkapital. Ohne Vorkenntnisse. Jetzt habe ich die Antwort gebaut: → KI schreibt Produkt-Reviews → Du veröffentlichst sie → Einnahmen: Bis zu 100 Euro pro Tag
100 Euro pro Tag mit KIDie Zukunft gehört denen, die KI nutzen. Nicht denen, die warten.
Wie du vermeidest, ersetzbar zu werden. Stell dir vor, du wachst in 12 Monaten auf... Alle um dich herum nutzen KI. Automatisieren. Verkaufen schneller. Und du? Bist immer noch dabei, es "irgendwann mal anzugehen". Hier meine 10 besten Tools, die dir helfen, deinen Start zu erleichtern. Ohne Technik-Stress, ohne Vorwissen.
DIE SCHNELLSTE ABKÜRZUNG ZU DEINEM ZUSATZEINKOMMEN
Weg vom Zögern, rein ins Verdienen. Dein Business ist nur ein Klick entfernt. ✔ Endlich dein gewünschtes zusätzliches Einkommen generieren ✔ Dein eigenes Produkt , auch ohne Idee oder Vorkenntnisse ✔ Schritt-für-Schritt-Anleitung, verständlich und sofort umsetzbar ✔ KI-Tools & Vorlagen, alles ist für dich vorbereitet Das Business, das andere sich noch wünschen, ist für dich schon startklar.
3 FATALE BUSINESS FEHLER DIE DU GERADE MACHST, OHNE ES ZU MERKEN
Dieses Webinar ist für alle, die keine Ausreden mehr suchen, sondern echte Resultate. • Lerne, warum du trotz harter Arbeit nicht vorankommst und was du sofort ändern kannst • Finde heraus, welches Umfeld dich wachsen lässt und welches dich heimlich zurückhält • Entdecke den einen Hebel, der bei erfolgreichen Unternehmern den Unterschied macht
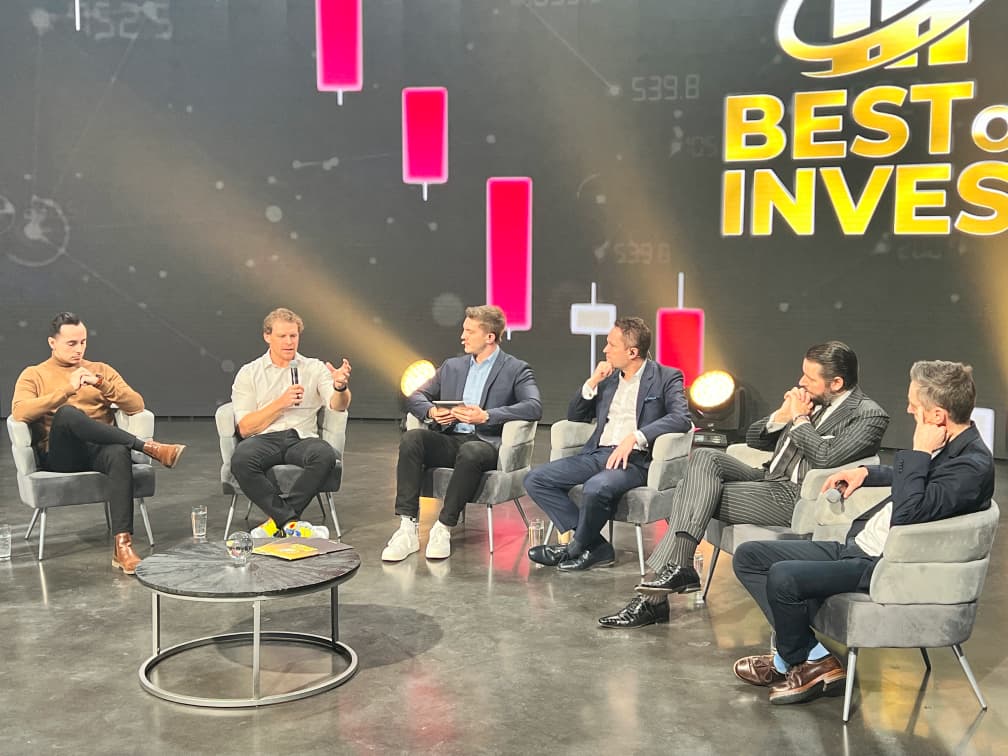
Business Circle. Dein Netzwerk für ambitionierte Unternehmer
Dein Umfeld. Dein Fokus. Dein echter Fortschritt. Ein exklusiver Raum für Selbststarter, Unternehmer und Entscheider, die wirklich etwas bewegen wollen. Hier geht es nicht um „mehr Infos“. Sondern um Umsetzung. Klar. Konsequent. Gemeinsam. Der Business Circle ist deine Anlaufstelle für echte Insights, bewährte Strategien und den direkten Austausch mit Machern auf Augenhöhe. Einzigartig im deutschsprachigen Raum.
WERDE TEIL DER COMMUNITYLive-Webinar: Meine 3 wichtigsten Lektionen aus 12 Jahren Investieren & Unternehmertum
10 Millionen in 30 Minuten - Hast du dich jemals gefragt, warum manche Menschen scheinbar mühelos von Marktveränderungen profitieren, während andere zurückbleiben? In meinem exklusiven Webinar zeige ich dir 3 entscheidende Lektionen, die ich auf meinem Weg gelernt habe. Wenn du wissen möchtest, wie du selbst in unsicheren Zeiten stabil investieren kannst, sichere dir jetzt deinen Platz und erfahre es im Webinar – bevor es zu spät ist!
Inner Circle. Das exklusive Investoren-Netzwerk im DACH-Raum
Bist du bereit, dein volles Potenzial zu entfalten? Stell dir vor, du hast Zugang zu einem exklusiven Netzwerk der erfolgreichsten Investoren und Unternehmer im deutschsprachigen Raum. Der Inner Circle bietet dir nicht nur Wissen, sondern auch die Möglichkeit, echte Freundschaften und wertvolle Geschäftskontakte zu knüpfen. Erlebe hautnah, wie die Top 1% investieren und du von ihrem Wissen profitierst. Bewirb dich jetzt und sichere dir deinen Platz – bevor die Warteliste wieder geschlossen wird!
Zum Inner CircleInner Circle Daily: Dein tägliches Finanz-Update für maximalen Erfolg – in minimaler Zeit.
Verabschiede dich von Informationschaos und Unsicherheit. Der Inner Circle Daily liefert dir exklusive Einblicke von Bestsellerautor und Multi-Millionär Dr. Julian Hosp – direkt aufs Handy, als persönliche Sprachnachrichten, die dir prägnant und verständlich die wichtigsten Trends zu Krypto, Aktien und alternativen Investments erklären. So sparst du wertvolle Zeit, triffst fundierte Entscheidungen und bist der Masse immer einen Schritt voraus. Werde Teil des Inner Circle Daily und profitiere von Wissen, das den entscheidenden Unterschied macht.
INNER CIRCLE DAILYVerpasst du gerade die Chance deines Lebens?
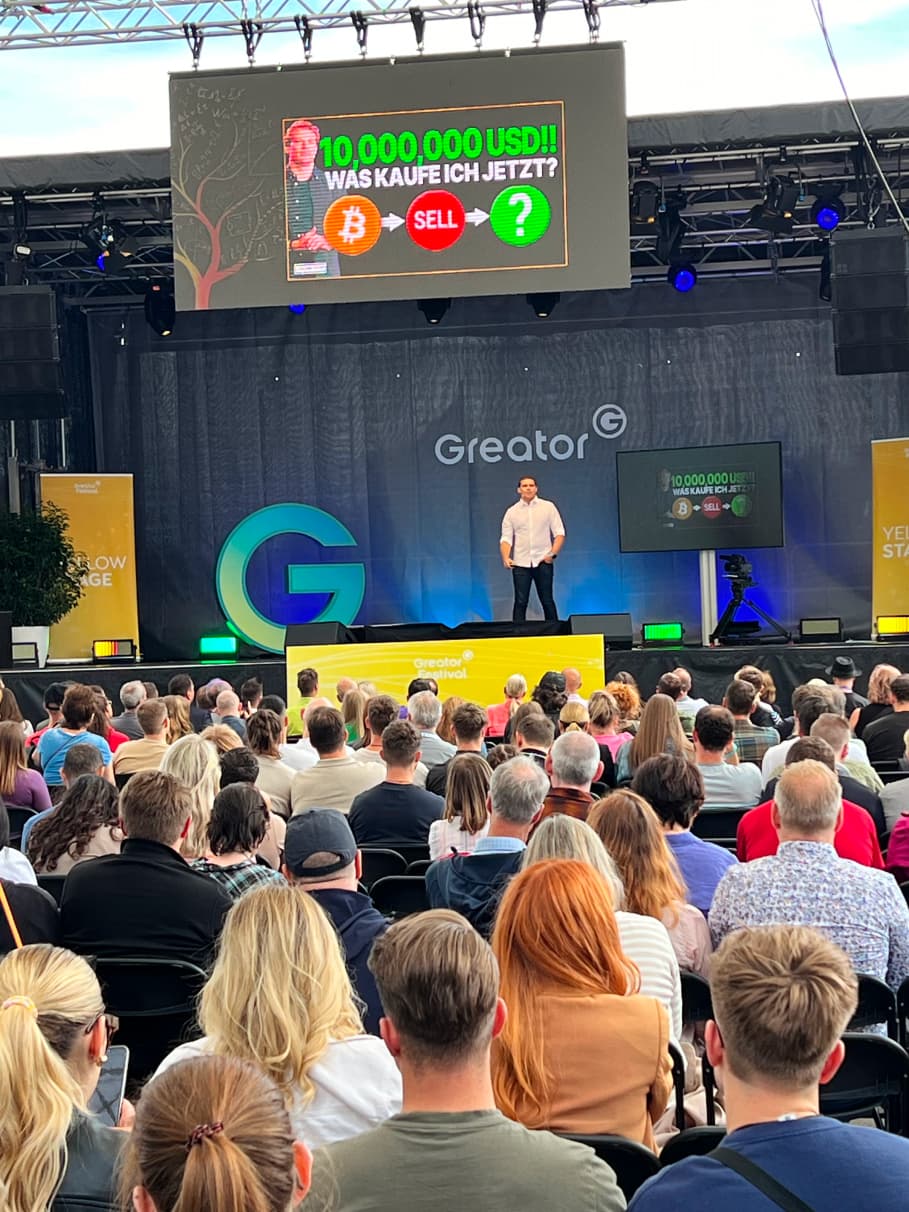
Ist der Bitcoin-Zug schon abgefahren, oder ist jetzt die Chance deines Lebens? Was, wenn jetzt genau der Moment ist, um den entscheidenden Schritt zu machen und das Potenzial des Kryptomarktes ohne unnötige Risiken auszuschöpfen? Viele glauben, die besten Zeiten seien vorbei – finde in meinem Live-Webinar heraus, ob das wirklich so ist. Sichere dir deinen kostenlosen Platz, bevor es zu spät ist!
Zum Webinar SpecialDie 90 Tages Challenge
Wie würde sich dein Leben verändern, wenn du endlich durchziehst, was du dir vornimmst? 90 Tage vergehen sowieso – warum nicht die Zeit nutzen? Die 90-Tage-Challenge ist deine Chance, Ausreden hinter dir zu lassen und dein volles Potenzial zu entfalten – oder weiter auf der Stelle zu treten. Mit der kostenlosen 90-Tage-Challenge erhältst du täglich eine Audionachricht von mir mit klaren Schritt-für-Schritt-Anleitungen, die dir helfen, deine Ziele zu erreichen. Entscheide dich jetzt: Erfolg oder Stillstand?
Persönliche Einblicke – Wie ich wurde, wer ich heute bin


Profitiere von täglicher Inspiration und Motivation als Teil meiner Community

Warum 90% aller Startups in den ersten 3 Jahren scheitern (und wie du es besser machst)
90 Prozent aller Startups scheitern, nicht am Markt, sondern an sich selbst. In diesem Blog erfährst du, wie du die typischen Gründerfallen vermeidest und deine Idee vom Traum zur Realität machst.